


How professional background removal improves product presentation
White, transparent or coloured — choosing a background, and the details that separate a clean cut-out from a cheap one.
3 min read
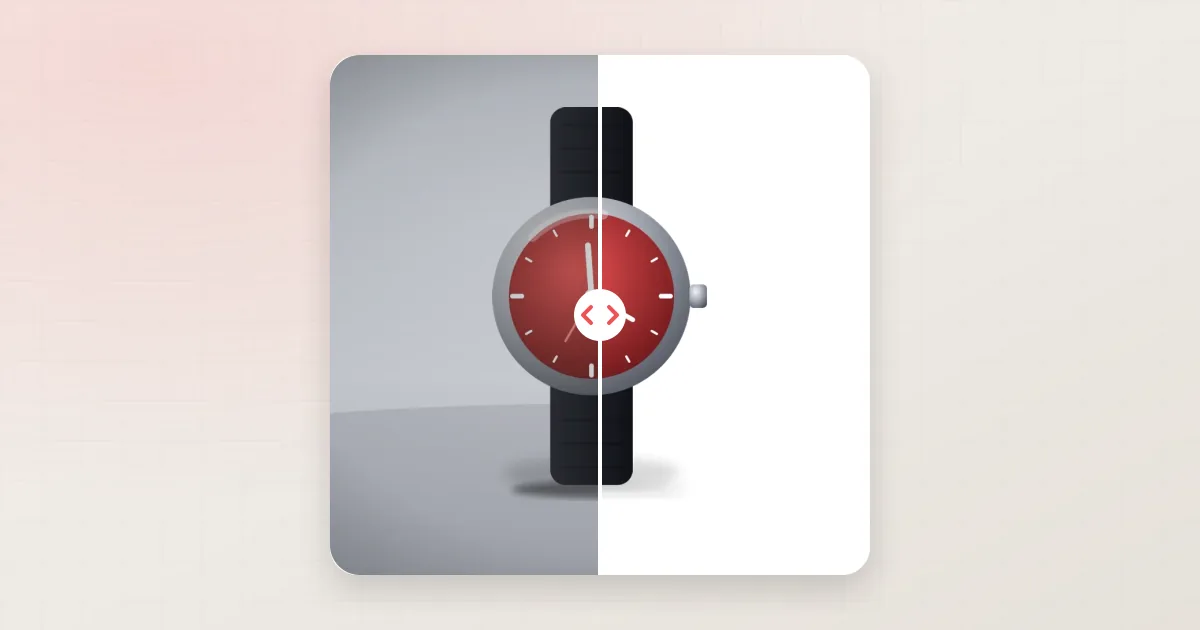
Removing the background is usually the first edit a product photo gets. It turns a studio shot — paper sweep, light stands, uneven grey — into an image that can sit on a white product page, a coloured banner or a marketplace listing without any extra work. Done well, nobody notices it. Done badly, it is the first thing they notice.
Choosing the right background
| Background | When to use it | Things to watch |
|---|---|---|
| Pure white | Main images on marketplaces and most catalogue pages | Should be a true, even white (RGB 255, 255, 255) — not light grey |
| Transparent (PNG) | Designers, banners, ads, placing products on any colour later | File size is larger; JPG cannot store transparency |
| Brand colour | Collections, campaigns, social media | Keep one colour per collection so the grid stays calm |
| Keep the original | Lifestyle and context shots | Edit for dust and colour only |
In our Client Portal, the background is part of the specification you save once: white, transparent, a colour picked with the colour picker, or the original. Every image in the order follows it.
What makes a clean cut-out
- Precise edges. Hard products get a hand-drawn clipping path; hair, fur and lace get image masking.
- No halos. A thin line of the old background around the product is the most common sign of a rushed job, and it shows on dark backgrounds even when it hides on white.
- Holes removed. The space inside a handle, a strap or a chair back must be cut out too.
- Natural transparency. Glass and translucent plastics keep their see-through quality instead of turning solid.
- Colour untouched. Removing the background must not shift the product's colour.
Keep it real with shadows
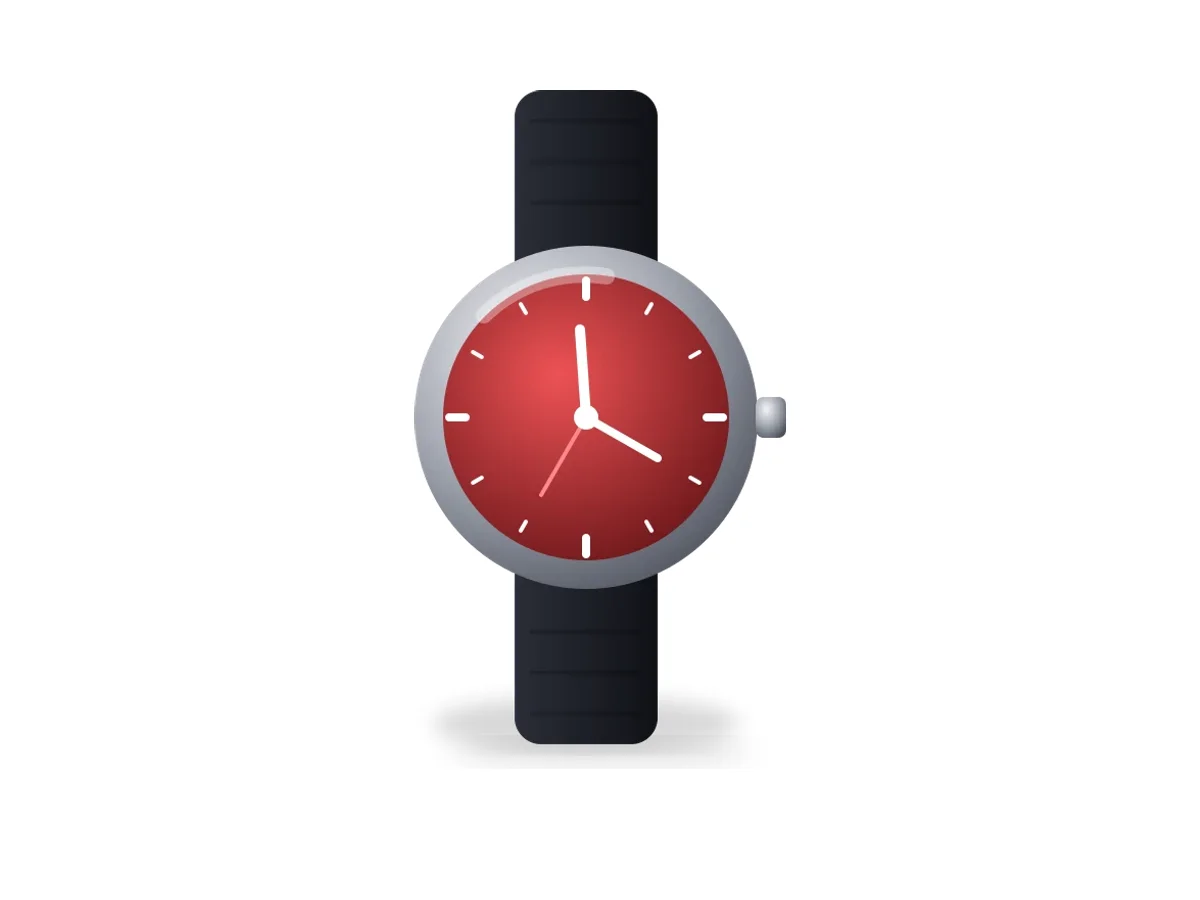
A product floating on pure white can look pasted on. A shadow anchors it to a surface and gives the eye a sense of size and weight. The usual choices are a soft drop shadow, the product's own original shadow, a reflection for glossy products, or a cast shadow for a directional studio look — all available in our shadow creation service.
Rule of thumb: pick one shadow style per collection. Mixed shadow styles on one category page look more untidy than no shadows at all.
Margins, size and alignment
Background removal is also the moment to fix framing. Decide the canvas size, the margin around the product and the alignment (centred, or bottom-aligned for shoes and furniture) once, and apply them to every image. Our resizing and alignment service handles this as part of the same order.
Automatic tools or hand editing?
Automatic background removers have become good at simple, high-contrast products. They still struggle with fine edges, transparency, products the same colour as the background and anything that needs judgement — which part is product and which is a prop. For a handful of social posts, an automatic tool may be enough. For a catalogue that represents your brand and has to pass marketplace checks, hand-finished edges are worth it.
Try it on your own photos
See how your own products look on a clean background. Start a free trial in the Client Portal, upload a few product photos and compare the results with your current images — or tell us about your catalogue and we will suggest a workflow.
Keep reading
 Photo editingE-commerceWhy professional product image editing matters for e-commerceOnline shoppers cannot touch your products, so the photo carries the sale. A practical look at what professional product image editing improves, where it fits in your workflow and what to ask from an editing partner.Shopnil IT Editorial Team14 NOVEMBER 20264 min read
 E-commerceProduct photographyHow better product photos help an online store sell moreShoppers decide fast and decide on what they can see. This article walks through how product photos influence clicks, trust, add-to-cart decisions and returns, and which edits make the biggest difference.Shopnil IT Editorial Team14 NOVEMBER 20263 min read
 Photo editingClipping path vs. image masking: which one does your photo need?Clipping paths and image masks both cut a product out of its background, but they suit very different subjects. Learn how each technique works, when to choose which, and when a product needs both.Shopnil IT Editorial Team14 NOVEMBER 20263 min read