


Photo editingProduct photography
Ghost mannequin editing: a guide for apparel photography
How the "invisible mannequin" look is made, how to shoot for it and what to check in the finished image.
3 min read
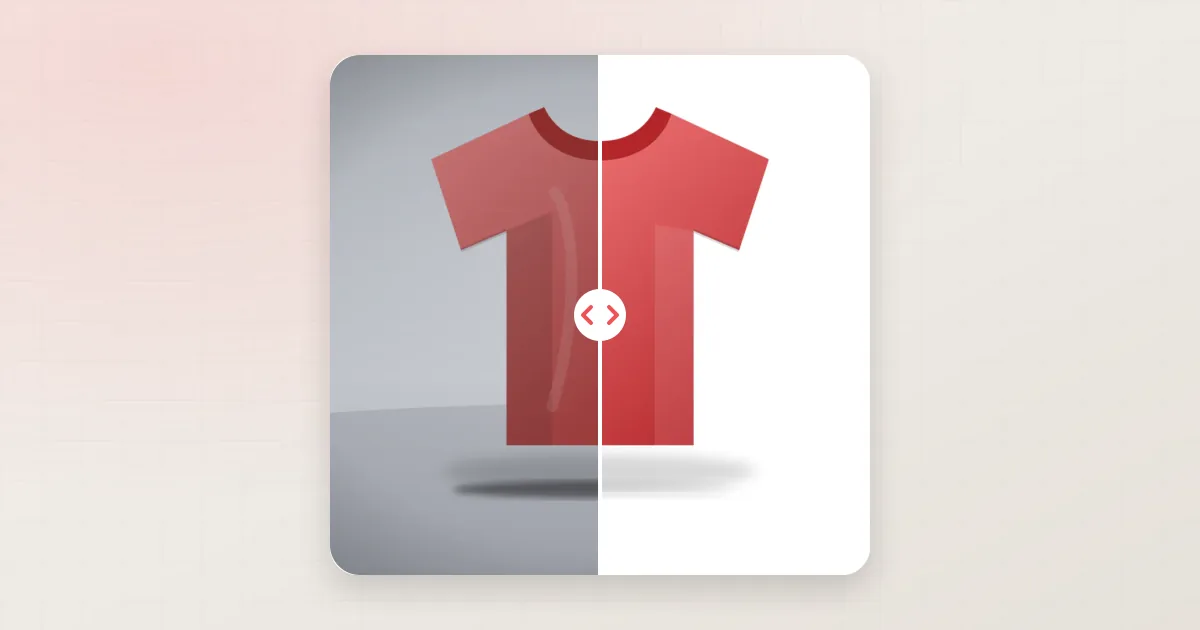
Flat-lay photos are quick but make clothes look, well, flat. Model shots show fit but cost more and pull attention to the model. Ghost mannequin images sit in between: the garment keeps its three-dimensional shape, but the mannequin has disappeared. The result looks as if an invisible person is wearing it.
How the effect is made
The finished image is a composite of two or more photos of the same garment:
- The front shot — the garment on a mannequin, photographed from the front.
- The inside shot — the garment turned or laid so the inside of the neckline (and sometimes the inside back) is visible.
- Optional extra shots — the inside of sleeves, the hem or a hood, for garments where those openings are visible.
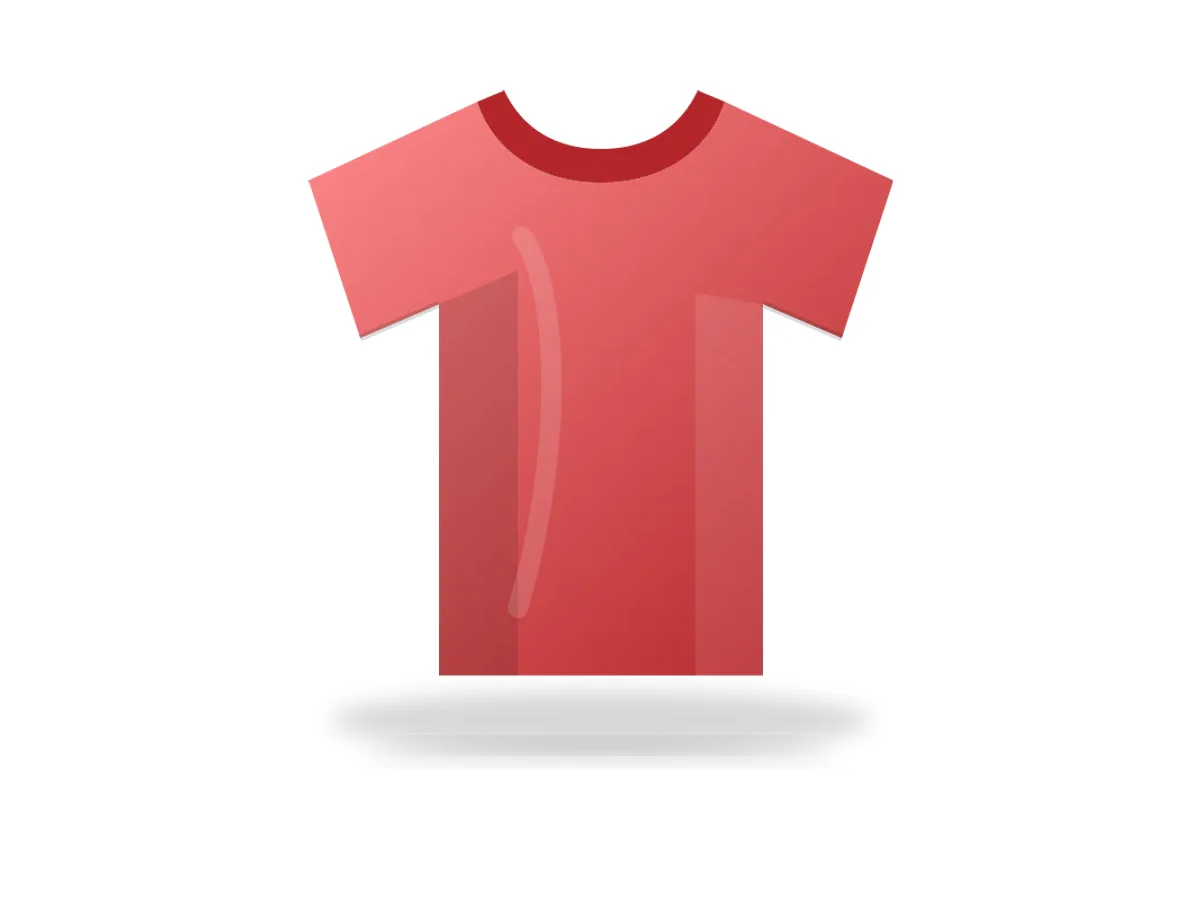
The editor removes the mannequin from the front shot, then places the inside of the neckline from the second shot into the gap, matching perspective, light and colour. The result is a hollow garment with a visible back neck label area. Our ghost mannequin service does this by hand for each garment.
How to shoot for ghost mannequin editing
Use the right mannequin
Mannequins with removable parts (neck, arms, chest pieces) make the inside shots much easier. A mannequin in a neutral colour that contrasts with the garment makes it easier to remove cleanly.
Keep the camera still
Shoot the front and inside images with the same camera position, lens and lighting. When perspective and light match, the composite looks natural and the editor spends time on details rather than on fixing mismatches.
Style the garment carefully
- Steam out creases before shooting — retouching can reduce creases but a well-pressed garment always looks better.
- Pin excess fabric at the back so the front silhouette is clean and symmetrical.
- Close zips and buttons as a customer would wear the garment.
- Photograph the inside shot with the label visible if you want it shown.
Name the files so they belong together
Give the inside shot the same name as the front shot with a suffix, for example shirt-0412.jpg and shirt-0412-insert.jpg. In our Client Portal, numbered or "-insert" files with the same base name are recognised as one product, so you are charged for the product — not for every helper photo.
What to check in the finished image
- No trace of the mannequin: no edges, no shadow of a neck piece, no pins.
- The inside neckline matches the outside in colour and light, and sits at a believable angle.
- The silhouette is symmetrical where the garment is symmetrical — a symmetrical edit can balance sleeves and hems.
- Fabric texture is intact; creases are reduced, not smoothed into plastic.
- Margins and size match the rest of your range.
When to choose another style
Ghost mannequin works best for tops, jackets, dresses, knitwear and swimwear. For accessories, shoes and hard goods, a clean cut-out with a shadow is usually better. For garments where drape and movement are the selling point — a flowing evening dress, for instance — a model shot may serve the product better. Many stores mix styles: ghost mannequin as the main image, model shots further down the gallery.
Try it on your own photos
Ghost mannequin results depend a lot on the original shots. Start a free trial in the Client Portal, upload a few product photos and compare the results with your current images — or tell us about your catalogue and we will suggest a workflow.
Keep reading
 Photo editingE-commerceWhy professional product image editing matters for e-commerceOnline shoppers cannot touch your products, so the photo carries the sale. A practical look at what professional product image editing improves, where it fits in your workflow and what to ask from an editing partner.Shopnil IT Editorial Team14 NOVEMBER 20264 min read
 E-commerceProduct photographyHow better product photos help an online store sell moreShoppers decide fast and decide on what they can see. This article walks through how product photos influence clicks, trust, add-to-cart decisions and returns, and which edits make the biggest difference.Shopnil IT Editorial Team14 NOVEMBER 20263 min read
 Photo editingClipping path vs. image masking: which one does your photo need?Clipping paths and image masks both cut a product out of its background, but they suit very different subjects. Learn how each technique works, when to choose which, and when a product needs both.Shopnil IT Editorial Team14 NOVEMBER 20263 min read