

Outsourcing image editing: benefits, costs and choosing a workflow
When it makes sense to hand editing to a specialist, what to compare, and how to set up a workflow that scales with your catalogue.
3 min read
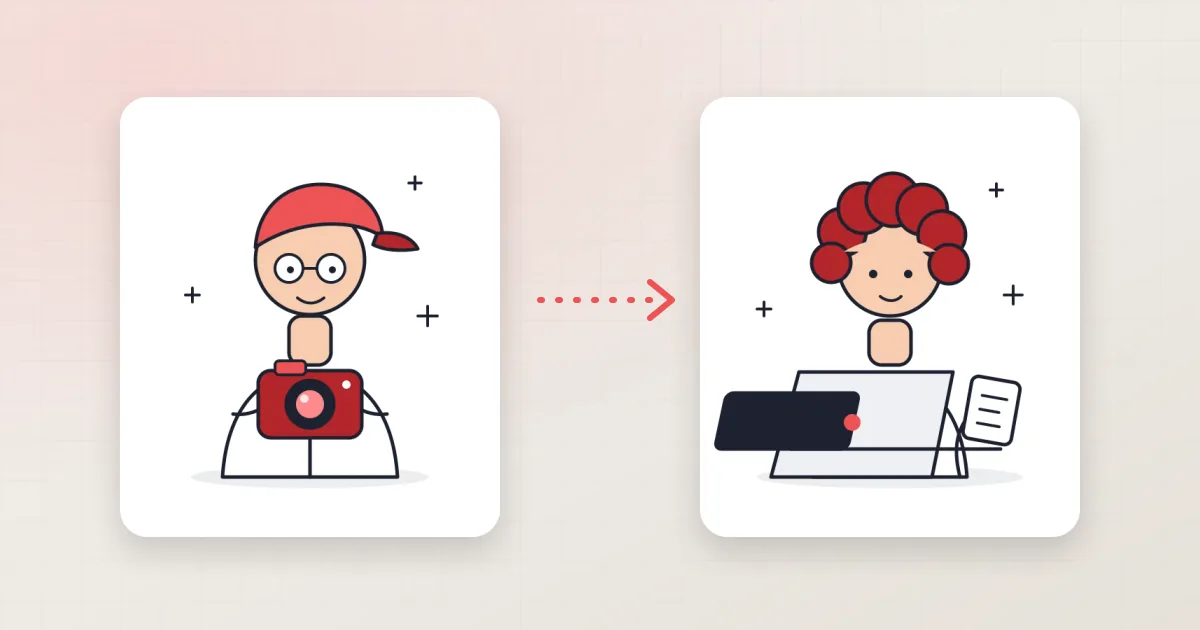
Every growing online store reaches the point where editing photos takes more time than taking them. At that point there are three realistic options: hire or train editors in-house, rely on automatic tools, or outsource to a specialist editing service. Each is right for someone. Here is how to decide — and how to make outsourcing work if you choose it.
The three options compared
| In-house editor | Automatic tools | Specialist service | |
|---|---|---|---|
| Best for | Steady, high volume with very specific style | Simple products, quick social posts | Variable volume, high standards, many techniques |
| Main cost | Salary, software, training, management | Subscription, plus time fixing errors | Price per image |
| Quality on hard products | Depends on the person | Weak on fine edges and transparency | Hand-finished, technique per product |
| Scaling up for a launch or sale | Limited by team size | Fast, but quality varies | Scales with the order |
| Your time | Hiring and managing | Checking and correcting | Writing a clear specification and reviewing |
The benefits of outsourcing
- Time back for shooting, sourcing and selling — editing is skilled, slow work.
- Range of techniques: paths, masks, ghost mannequin, retouching and colour work, without training someone in each.
- Flexible volume: pay for what you edit; a seasonal peak does not need a seasonal hire.
- Turnaround: many services work across time zones, so photos sent in the evening can be ready the next morning.
Costs people forget to count
Comparing a price per image with a salary is not the full picture. On the in-house side, count software licences, hardware, training and the time a manager spends checking work. On the automatic side, count the time spent fixing the images the tool gets wrong. On the outsourcing side, count the time to write a good specification once — and the cost of a rushed service that needs redoing.
Setting up an outsourced workflow that scales
- Start with a trial on your own, typical products — including a difficult one.
- Write a specification: background, size, margins, alignment, shadow, retouching level, file types, colour profile and file naming.
- Agree on turnaround for normal and urgent orders, and on how revisions work.
- Name and group files consistently so helper shots (like ghost mannequin inserts) stay with their product.
- Review the first batches closely, give feedback once in writing, then spot-check.
- Keep everything in one place: orders, files, revisions and invoices.
Our Client Portal is built around that workflow: saved specifications, uploads that resume after a lost connection, delivery times from 48 hours down to 6, revision requests marked directly on the image, and files and invoices in one account. See how it works or compare options on the pricing page.
Questions to ask before choosing a service
- Can I test on my own photos first?
- Is the work done by hand where the product needs it?
- How do revisions work, and are they included?
- How are my files stored, protected and deleted?
- Can I see the status of every order without emailing?
Try it on your own photos
A short trial on your own products answers most of these questions. Start a free trial in the Client Portal, upload a few product photos and compare the results with your current images — or tell us about your catalogue and we will suggest a workflow.
Keep reading
 Photo editingE-commerceWhy professional product image editing matters for e-commerceOnline shoppers cannot touch your products, so the photo carries the sale. A practical look at what professional product image editing improves, where it fits in your workflow and what to ask from an editing partner.Shopnil IT Editorial Team14 NOVEMBER 20264 min read
 E-commerceProduct photographyHow better product photos help an online store sell moreShoppers decide fast and decide on what they can see. This article walks through how product photos influence clicks, trust, add-to-cart decisions and returns, and which edits make the biggest difference.Shopnil IT Editorial Team14 NOVEMBER 20263 min read
 Photo editingClipping path vs. image masking: which one does your photo need?Clipping paths and image masks both cut a product out of its background, but they suit very different subjects. Learn how each technique works, when to choose which, and when a product needs both.Shopnil IT Editorial Team14 NOVEMBER 20263 min read